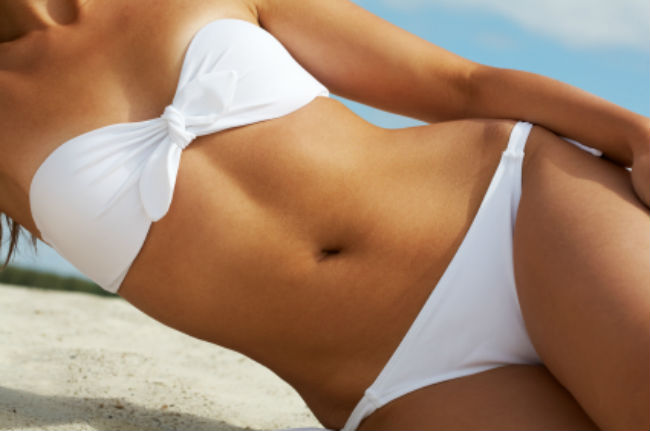
Applying fake tan is somewhat of an art-form, but luckily for you; I’m a bit of an expert. That’s why I’ve taken it upon myself to tell you exactly how to do it properly, right down to the very last detail.
Applying Fake Tan Like a Pro
I’ll leave no stone unturned, and no question unanswered in an effort to assist your quest to apply the brown stuff like a pro. Ready to go? Let’s begin:
Selecting Your Tan
You can’t just walk into a drugstore and pick up any old tan and then expect it to turn out great. There are a number of things you need to consider when selecting your tan, so this is something you shouldn’t take lightly. People buy cheapo fake tans and then wonder why they look so streaky: because you bought a rubbish tan (also probably something to do with your application skills). Simple! You can usually buy 3 shades of fake tan: light, medium, and dark. Think of what your skin tone is like naturally, and go from there. If you’re pretty much albino, a dark fake tan probably isn’t the best choice to make if you’re a novice. Practice with lighter tans and then work your way up to a darker tan, if that’s what you like. Also, look at Youtube and blog reviews to get an idea of the shades and outcomes.
Preparing Your Skin
Now you’ve chosen your tan, you need to properly prepare your skin. Lots of girls just go hell for leather rubbing it on like there’s no tomorrow, but your skin needs to be in tip top condition first. A day or two before you intend on applying the tan, remove all unwanted hair from your legs, face, arms, and so on. The day before you apply your tan, exfoliate all over with a good scrub, and then dab yourself dry before applying a rich moisturizer. Shea butter is a superb body moisturiser. Make sure you concentrate on the driest areas of your body.
Applying the Tan
Now your skin should feel so soft and smooth. It’s time to apply your tan! You need a quality, clean mitt for this – some girls use their hands, but this will leave you with orangutan palms. Pump a little onto the mitt, less is best (you can always add more later). Start with your feet, and carefully work your way around every part of your foot; the back of the ankle, over and in between the toes, etc. Then work your way up the calf, around the knee, until it’s time to do the thigh. Try to buff and blend as you go. It’s best if you do this in front of a mirror in good light so you can see what you’re doing. Continue this until it’s time to do your stomach, arms, hands, chest, neck, and finally the face. I recommend you put less on your face as it can clog up your pores. Make sure you don’t miss any bits on your arm as this is very easy to do. I like to get into all kinds of positions in the mirror so I can see if I’ve missed anywhere!
Aftercare Advice
- Give yourself time to dry before getting dressed.
- Leave the tan on overnight.
- Wear loose, dark, baggy clothing to bed.
- Don’t apply any other products after applying your tan, not even deodorant.
- Have a lukewarm shower in the morning using minimal product, and dab yourself dry with a towel.
- Apply a moisturizer.
With plenty of practice, you’ll eventually get the application perfect, so don’t worry if you didn’t quite get it right this time round (I usually disguise mistakes with bronzer, if I can). Let me know how you got on in the comments!


